Capital Cities Hangman - Color Cities Hangman is a fun arcade game. The purpose of the game is simple. The purpose of the game is simple, as long...
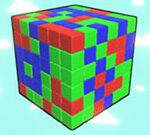
Connect - Connect is a puzzle game. In the game, your goal is to connect the squares of the same color by using the arrow movement....
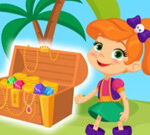
Tiny Pirates: Treasure Island - Play this very fun game, you can discover the treasure! In the game, first, you can choose the character the little boy or...
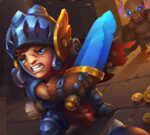
Cards Keeper - Cards Keeper is a card game. In the game, you can fight monsters and look for the treasures to collect gold coins. I hope...
Icon Mahjong Game - Icon Mahjong Game is a classic mahjong matching game. You need to match two identical items to eliminate them all. The sooner...
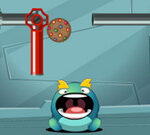
Cookie Maze - Cookie Maze is a fun arcade game. In the game, you need to make the donut fall into the dragon’s mouth. At the same...
CircloO - CircloO is a fun adventure game. Experience the gravity fun and keep the ball rolling in the round road. Try your best to...
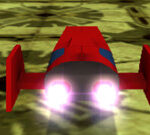
Hover Racer Pro - Hover Racer Pro is a 3D racing game. In the game, you can drive the ship to show your nice driving skill. You can use the...
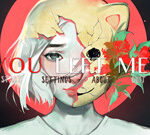
You Left Me - You Left Me is an abstract AVG game. You will be the girl who forgets everything in this game. After waking up, you find...
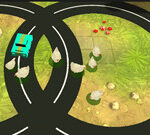
Roary The Racing Car Differences - Do you like cartoon Roary the Racing Car? If yes, then don’t miss this fun game-Roary The Racing Car Differences. At...