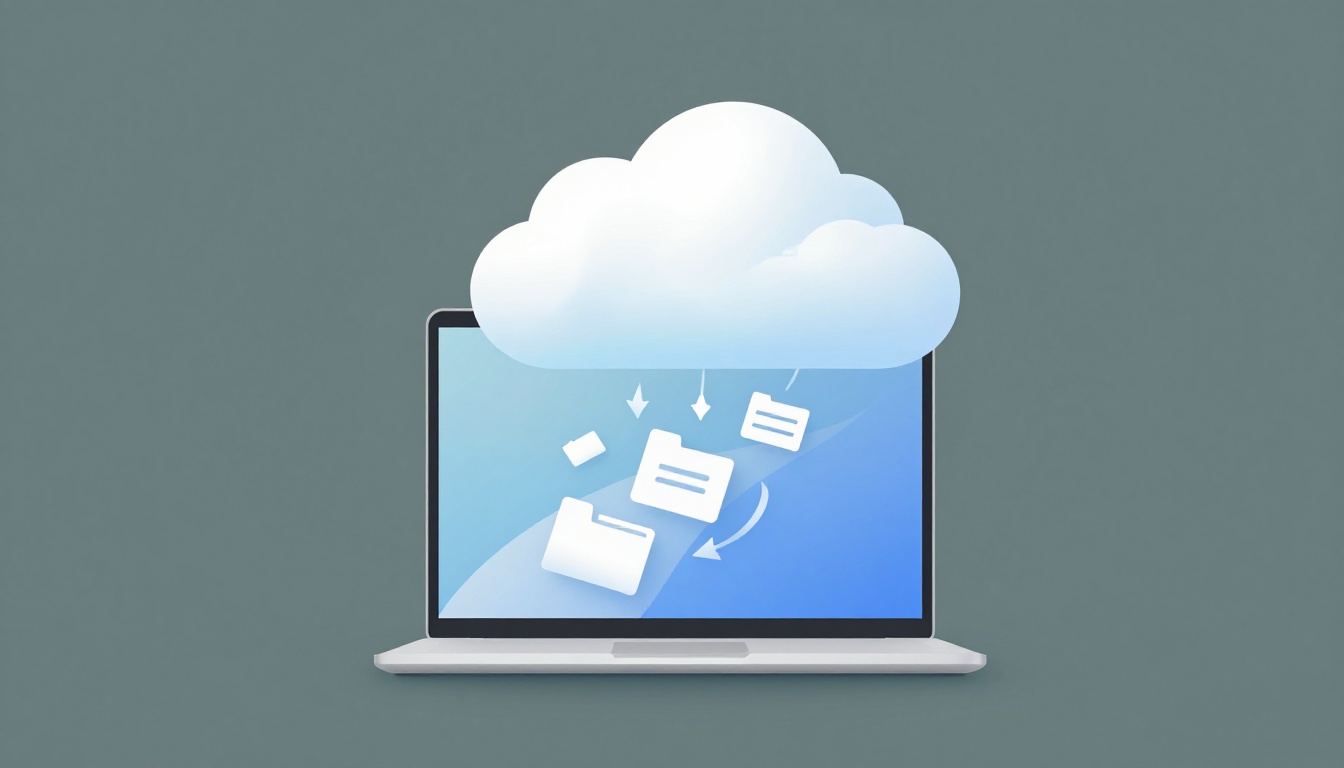
A hard drive crash can wipe out years of photos in minutes. Even worse, running out of storage makes it harder to save new stuff. If that sounds familiar, move files from your computer to the cloud so they stay online and easier to access.
Cloud storage means your files live on remote servers, not just on your local drive. That usually gives you automatic backups, easier sharing, and more free space on your computer. In 2026, uploads are faster on many plans, and privacy options get more attention than before.
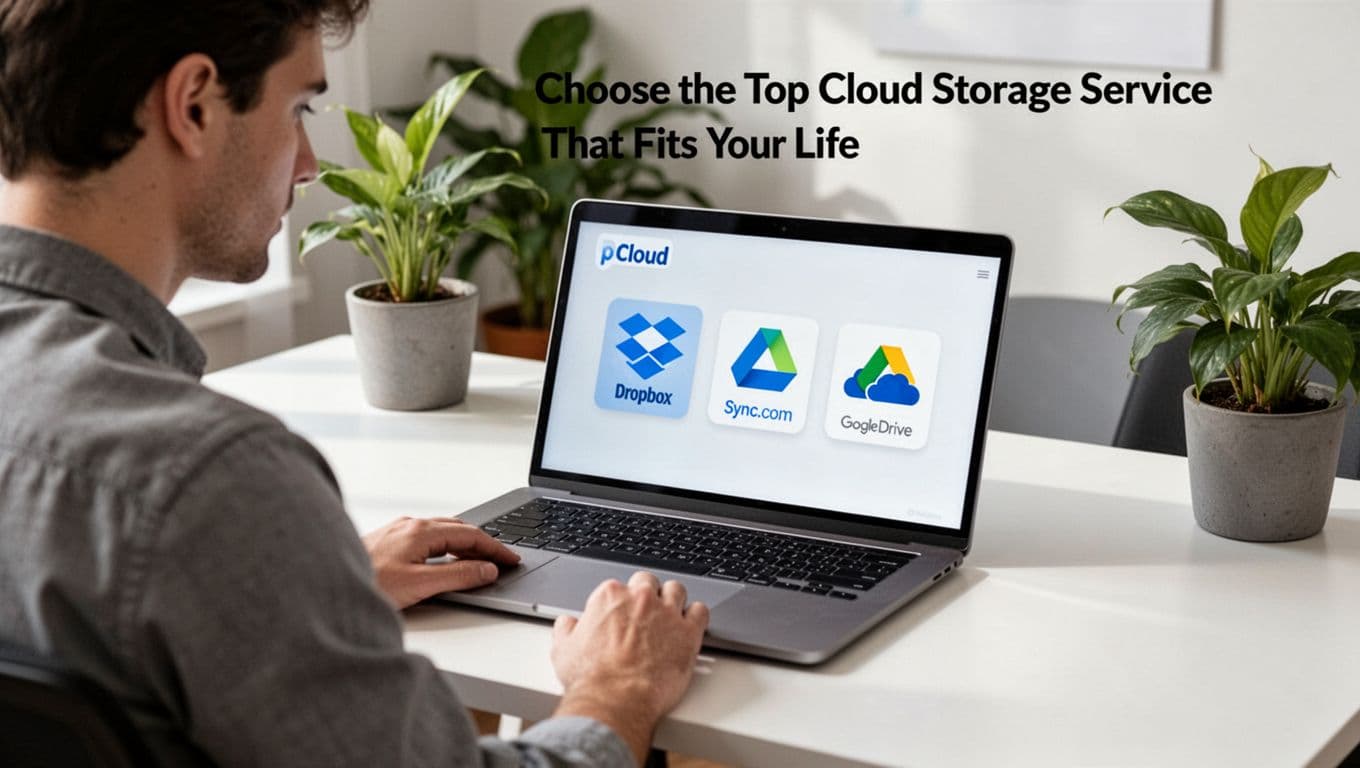
The catch is choosing the right service and moving your files without creating a mess. This guide shows you how to pick a top option for your needs, prep folders so uploads go smoothly, and use step-by-step directions for popular services like pCloud, Dropbox, Sync.com, Google Drive, and OneDrive. Then it covers security habits so your files stay protected while you move them.
Choose the Top Cloud Storage Service That Fits Your Life
Start by matching the service to how you use files. Are you mostly saving personal photos? Do you share folders with family? Or do you need strong privacy for work docs?
Here’s a practical comparison for US users in 2026, based on current plan pricing and commonly reported performance.
| Service | Best for | Typical Paid Storage | Privacy Model | Upload Speed Style |
|---|---|---|---|---|
| pCloud | Value, lifetime plans, media | 500GB+ tiers, 2TB lifetime | Zero-knowledge add-on (extra) | Fast overall |
| Dropbox | Team workflows and sharing | 2TB Plus (about $10/mo) | Not zero-knowledge | Smooth daily sync |
| Sync.com | Privacy-first storage | 2TB+ (about $8/mo) | Full zero-knowledge | Very fast |
| Google Drive | Collaboration with docs | Around 2TB (about $10/mo) | Not zero-knowledge | Great for groups |
| OneDrive | Windows and Microsoft users | 1TB with Microsoft 365 | Not zero-knowledge | Works best on Windows |
If you want a deeper look at how two privacy-forward options compare, see PCloud vs Sync.com 2026: Which Cloud Wins?.
When you decide, keep it simple:
- Personal files and long-term savings: pCloud is often the best fit because of lifetime pricing.
- Work sharing and team folders: Dropbox is built around easy collaboration.
- Sensitive files and privacy focus: Sync.com stands out for stronger zero-knowledge.
A quick gotcha: “zero-knowledge” options may differ by plan or setup. Sync.com is typically built for it, while pCloud can be add-on based.
pCloud: Blazing Fast Uploads and No Monthly Fees
pCloud is a top pick when you want strong storage value. It’s known for fast uploads and downloads, and it offers lifetime plans. For example, a 2TB lifetime option is listed around $399 one-time for many US users.
You’ll also get useful tools for media and file management. Plus, pCloud supports apps on phones and desktops, so your files stay reachable without hopping between websites.
If you’re comparing how pCloud and Sync.com handle privacy in practice, Cloudwards has a side-by-side at Sync.com vs pCloud in 2026.
Dropbox: Smooth Sync for Work and Sharing
Dropbox shines when you move files between people often. It keeps things organized with shared folders, and it works well for day-to-day sync. Plans usually include a 30-day recovery window (useful when you delete something by mistake).
Dropbox is also a strong choice if you already use business tools. Many people pair it with Office workflows and chat tools, so you can share files quickly.
For a move-from-computer setup, Dropbox is usually easy. You install the desktop app, then drag folders into the Dropbox folder and let sync handle the rest.
Sync.com: Your Privacy-First Choice with Strong Encryption
If privacy is your main goal, Sync.com is built around it. It uses full zero-knowledge encryption, meaning the service is designed so only you can access your files.
It also supports file recovery features and versioning on paid plans. That matters because uploads aren’t always perfect. Sometimes a file gets overwritten, or you upload the wrong version first.
In 2026, this privacy model is one reason many people choose Sync.com for sensitive documents, scanned IDs, and private photo libraries.
Get Your Files Ready for a Smooth Cloud Move
Before you upload anything, prep your files like you’re packing a suitcase. You don’t want to throw everything in at random.
First, do a quick sort. Group files by project or time, then move them into simple folders. If you’re organizing photos, a folder name like 2026_Q1_Photos helps later.
Next, reduce clutter. Delete duplicate files you don’t need, and remove old installers, downloaded thumbnails, and broken shortcuts. Then, compress very large folders if your service allows it and you prefer one archive file.
Also check your plan limits. You need enough storage for what you will upload. If you’re close, upgrade first or remove low-value folders.
Here’s a simple prep checklist you can follow:
- Organize: create folders by date, client, or topic.
- Clean up: remove duplicates and obvious junk.
- Check sizes: confirm you’re not uploading single files above limits.
- Batch upload: split huge collections into chunks.
- Use stable internet: a wired connection helps on large uploads.
- Protect sensitive content: don’t upload sensitive data unless your plan supports it securely.
One more thing: avoid uploading unencrypted sensitive data to any service that doesn’t match your privacy needs. If you want extra protection, encrypt files before upload.
Finally, think about version history. If your service has it, keep the “final” file name consistent. For example, save as ClientName_Project_Final_v3.pdf before you upload.
Step-by-Step: Upload Files from Windows or Mac to Any Top Service
Most services use the same basic pattern:
- Install the desktop app (or use the website).
- Sign in and turn on two-factor authentication (2FA).
- Choose a sync folder.
- Drag files in, then wait for uploads to finish.
Once you do this, your computer does most of the work. The app watches your chosen folder and syncs in the background.
Because uploads can take hours for big libraries, start with a small test folder first. Upload one project, confirm it shows up in the cloud, then move the rest.
Upload to pCloud in Just a Few Clicks
pCloud Drive creates a folder on your computer. From there, it’s usually drag-and-drop.
To upload:
- Install the pCloud Drive app on Windows or Mac.
- Sign in, then open the pCloud sync folder (often linked to Desktop).
- Drag files into the sync folder.
- Wait for the upload status to complete.
- If you need more control, upload folders instead of individual files.
If you want official details on file and folder uploads, use pCloud Help center on uploading files.
Also, look for smart sync options if they appear in your setup. They can help you keep local space while still storing files in the cloud.
Quick Dropbox Sync from Your Desktop
Dropbox uses a similar desktop setup. Once it’s installed, your Dropbox folder becomes the hub.
Do this:
- Install Dropbox for desktop (Windows or Mac).
- Sign in, then confirm your sync folder location.
- Drag files into your Dropbox folder.
- For bigger batches, use Dropbox’s upload option when you prefer control.
- Keep the app running until the sync finishes.
Dropbox usually gives clear status indicators. Still, avoid turning off your computer mid-upload.
Secure Sync.com Transfers with Auto-Backup
Sync.com also uses a desktop app workflow. Once it syncs, it keeps updating the cloud.
To move your files:
- Install Sync.com’s desktop app.
- Sign in and choose the folders you want synced.
- Drag and drop files into the selected sync area.
- Let the app finish syncing in the background.
- Check the web dashboard after the first batch.
This is one reason Sync.com is popular for “set it and forget it” backups.
Google Drive: Effortless Backup and Collaboration
Google Drive is best if you want both storage and collaboration. For photos and PDFs, it still works great. For docs, it’s even better.
To upload with Drive for desktop:
- Install Drive for desktop on your Mac or Windows PC.
- Sign in to your Google account.
- Choose folders to sync (or start with one folder).
- Drag files into your Drive sync area.
- Keep an eye on sync completion.
If you want faster organization, use Drive’s folder structure and consistent naming. Also, if your account offers AI tagging, it can help find older files later.
OneDrive: Built-In for Windows Users
If you use Windows a lot, OneDrive can feel like part of the system. It also fits well with Microsoft 365.
To upload:
- Install or open OneDrive on your Windows PC or Mac.
- Sign in to your Microsoft account.
- Drag files into the OneDrive folder, or use the upload option.
- Wait until sync finishes before closing the app.
If you want extra ways to upload folders and files, check 3 Ways: Upload Files and Folders to OneDrive from PC or Phone.
Stay Safe and Skip These Upload Headaches
Moving files is simple, but small mistakes can cost time. Worse, some habits can weaken security.
First, use a secure connection. If possible, use home Wi-Fi you trust, or plug in via Ethernet. Next, turn on 2FA for your cloud account.
Then, be careful with sharing. Use link permissions like “view only,” and avoid public links for sensitive files. If your service offers end-to-end or zero-knowledge encryption, turn it on where possible.
If you want a security checklist, this guide on cloud storage security best practices covers common risks and how to reduce them.
Here are common upload problems and what to do next:
| Upload Headache | What’s Usually Wrong | What to Try |
|---|---|---|
| Uploads feel slow | Wi-Fi drops or network limits | Use wired internet, upload at off-peak times |
| Sync errors keep popping up | File names or folders conflict | Pause, resume sync, then retry the batch |
| Large files fail | File size limit or timeout | Split files, compress archives, batch upload |
| You hit your quota | You forgot hidden duplicates | Delete old versions (if allowed), upgrade, or move extras |
Also consider modern “smart sync” features. They can reduce local storage use by keeping files online-only, but you still need to confirm they’re fully uploaded.
Finally, don’t upload your entire library in one go if you can avoid it. Uploading in chunks reduces the damage if something goes wrong.
Conclusion
If you’ve ever watched a file disappear after a drive crash, you already know why cloud storage matters. Once you pick a service that fits your needs, the move gets much easier.
Start small, prep your folders, and then let the desktop app sync. Turn on 2FA, use safe sharing settings, and watch for sync status until uploads finish.
Now do the simplest next step: choose one service (pCloud, Dropbox, Sync.com, Google Drive, or OneDrive), install the desktop app, and move a test folder today. What did you move first, and how smooth was the sync on your computer?